Changing the background color of an image can have a dramatic effect on how it looks, and one of the best ways to do this is with Adobe Photoshop – though there are some great options. Whether you have a full version or a free trial, you can use a few different methods to do this.
In this handy guide, we’ve shared how to change the background color of Photoshop, so you can adjust your background level (or create a new one) at any time in the creative process.
Here’s how to change the background color of Photoshop:
Changing the background before creating a new image is the quickest way to set your choice.
When you create a new document in Photoshop, you will have the option to choose the background color. Use its drop-down menu or the color-select box to choose the background you want. When you create a new image, you have a choice of its background color.
That option will be at the bottom right of the new document window in Photoshop CC 2018. In older versions of Photoshop it will be located at the bottom of the window.
To change the background color after creating the image, you can create an entirely new background of your choice:
Select the Levels tab at the top of the window.
Select the new fill layer, then select the solid color – unless you want to have a particularly gradient or pattern background.
Give the new layer a name, then select OK if requested.
Select a color from the palette and select OK again.
Change the background color on existing images You need to select this before changing the background color of Photoshop. Here are some ways to do this, whether you are working on Windows or MacOS:
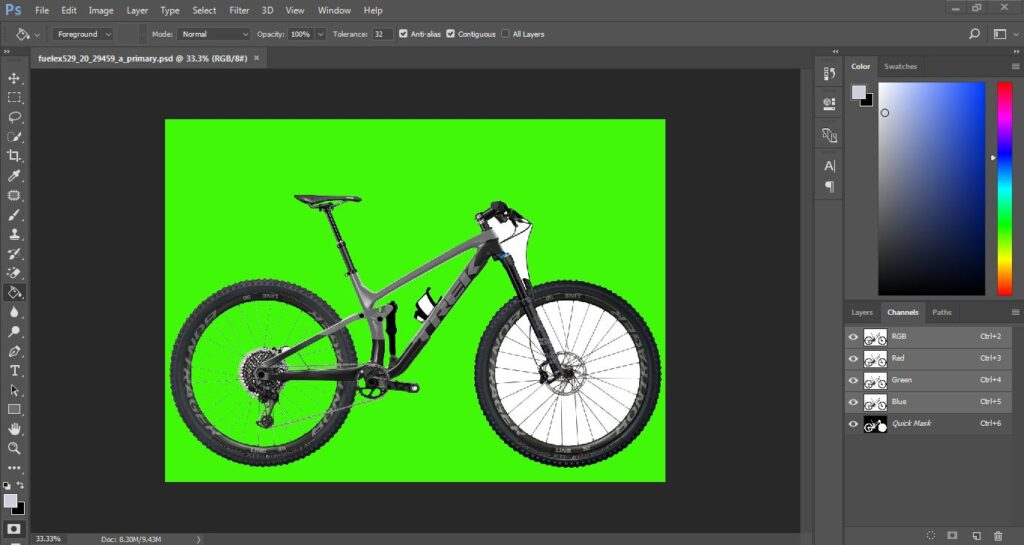
Use the magic travel tool:
It is fast and dirty and works best if there is a lot of difference between the nozzle and the background, but it can work rather well if you have a shortage of time or patience. To do this, select the Magic Wand tool from the left-hand menu (it looks like a bottom four and a stick). Then, hold the shift and select different parts of the background color that you want to change.
Use the LASO tool:
The LASO tool can be helpful if the sorcery stick is too heavy or not well-defined enough to select all of your backgrounds. You can use three for the same purpose. Select and hold the third option in the left-hand menu to give it a choice. Standard Lasso needs to be hand-painted around the background; Polygon Lasso lets you draw defined, straight lines;
The magnetic lasso will stick to existing lines and edges. When you’ve finished drawing around your background, either reconnect first, or Ctrl + click to finalize. If you are using a tablet running Windows 10, pressing and holding the screen will give you the right-click option, which will open the context menu with additional functions. Select the one you need, then tap for the same function.
Use the masking tool:
If you want a great accurate way of selecting the background of an image, you can use the masking tool. This is the second-to-bottom tool in the left-hand menu. Select it, then use a paint brush or similar tool to “color” your selection. This can be combined with the above method to fine-tune an existing selection. Your selected regions should be shown in red. When you are satisfied with your selection, select the masking tool again to see your choice in the dashed line.
If the background is larger than the nozzle when choosing any of the methods above, select the nozzle instead, then press Ctrl + Shift + I to reverse your selection and highlight the background.
Now that you’ve selected the background, it’s time to change its color. There are several different ways you can do this, depending on what color the background is:
Change the value
Press Ctrl + U to bring up the hue and saturation menu. Use the hue slider to slide the hue of your background. It will maintain the same level of light as before, but the overall color palette will change.
If you have a more uniform color in the background instead, you can remove it first, then add it back before adjusting the hue. To do this, press Ctrl + Shift + U to turn the image into grayscale, then open the Hue and Saturation menu as before. Select Colorize to add color again to the background, then use the Hue slider to adjust its color.
Paint over it
If you have a blank color as background, you can only color one of your already.
In Windows and MacOS, press F7 to open the Layers window.
Select New Level to create a new layer. This is the second icon from the right.
Select the Fill tool from the left-hand menu. This is the 12th icon from the top that looks like a paint bucket.
Use the color palette at the bottom of the left-hand menu to select the color of your background, then simply select within your selection to create a blank color.
If you like the gradient effect on your background, select and hold the fill tool to give the gradient bucket an option, then select and drag in your selection to create the gradient color for your new background.
At the end
Once you’ve learned how to change the background color of Photoshop, you can use the Quick Selection tool to adjust almost any section of an image!